Overview
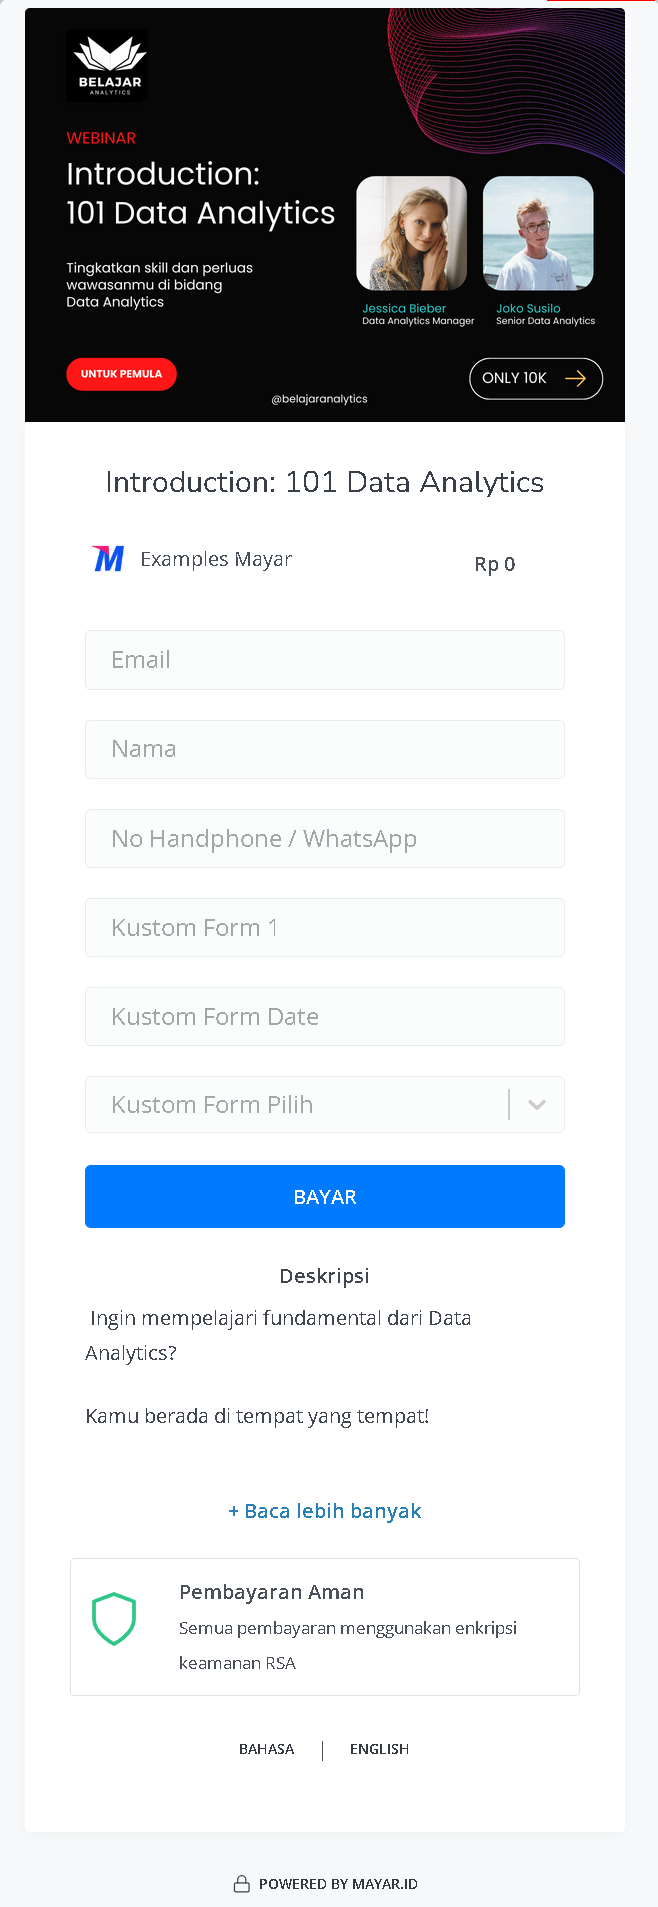
The Mayar Webinar platform offers an online course experience designed to facilitate the creation and management of various topics and speakers, making them more accessible and user-friendly. With the Mayar Web Apps, users can easily set up webinars tailored to their specific needs. This comprehensive documentation provides detailed guidance on how to create and customize payment links through the Mayar Dashboard, ensuring a seamless transaction process for both organizers and participants.Navigate to Webinar
1
Log in to your Mayar Dashboard
Make sure you are logged into your account and on the main Dashboard Page. This is where you will start with the Webinar.
2
From the Sidebar menu, click on Webinar
On the Dashboard page, find and click Webinar Menu. This will show all of the Webinar lists that you have created before.
Create Webinar
1
Go to Dashboard
Make sure you are logged into your Mayar account and on the main Dashboard page.
2
Access the Product Menu
Click the “Product” button at the top right near the “Create” button. This will take you to the product menu.
3
Choose Product Type
Select the “Webinar” option to start creating your Writing product. The “Create Webinar” window will open.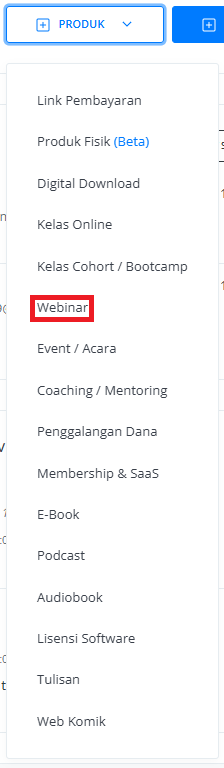
4
Fill in Product Details
Enter the following information: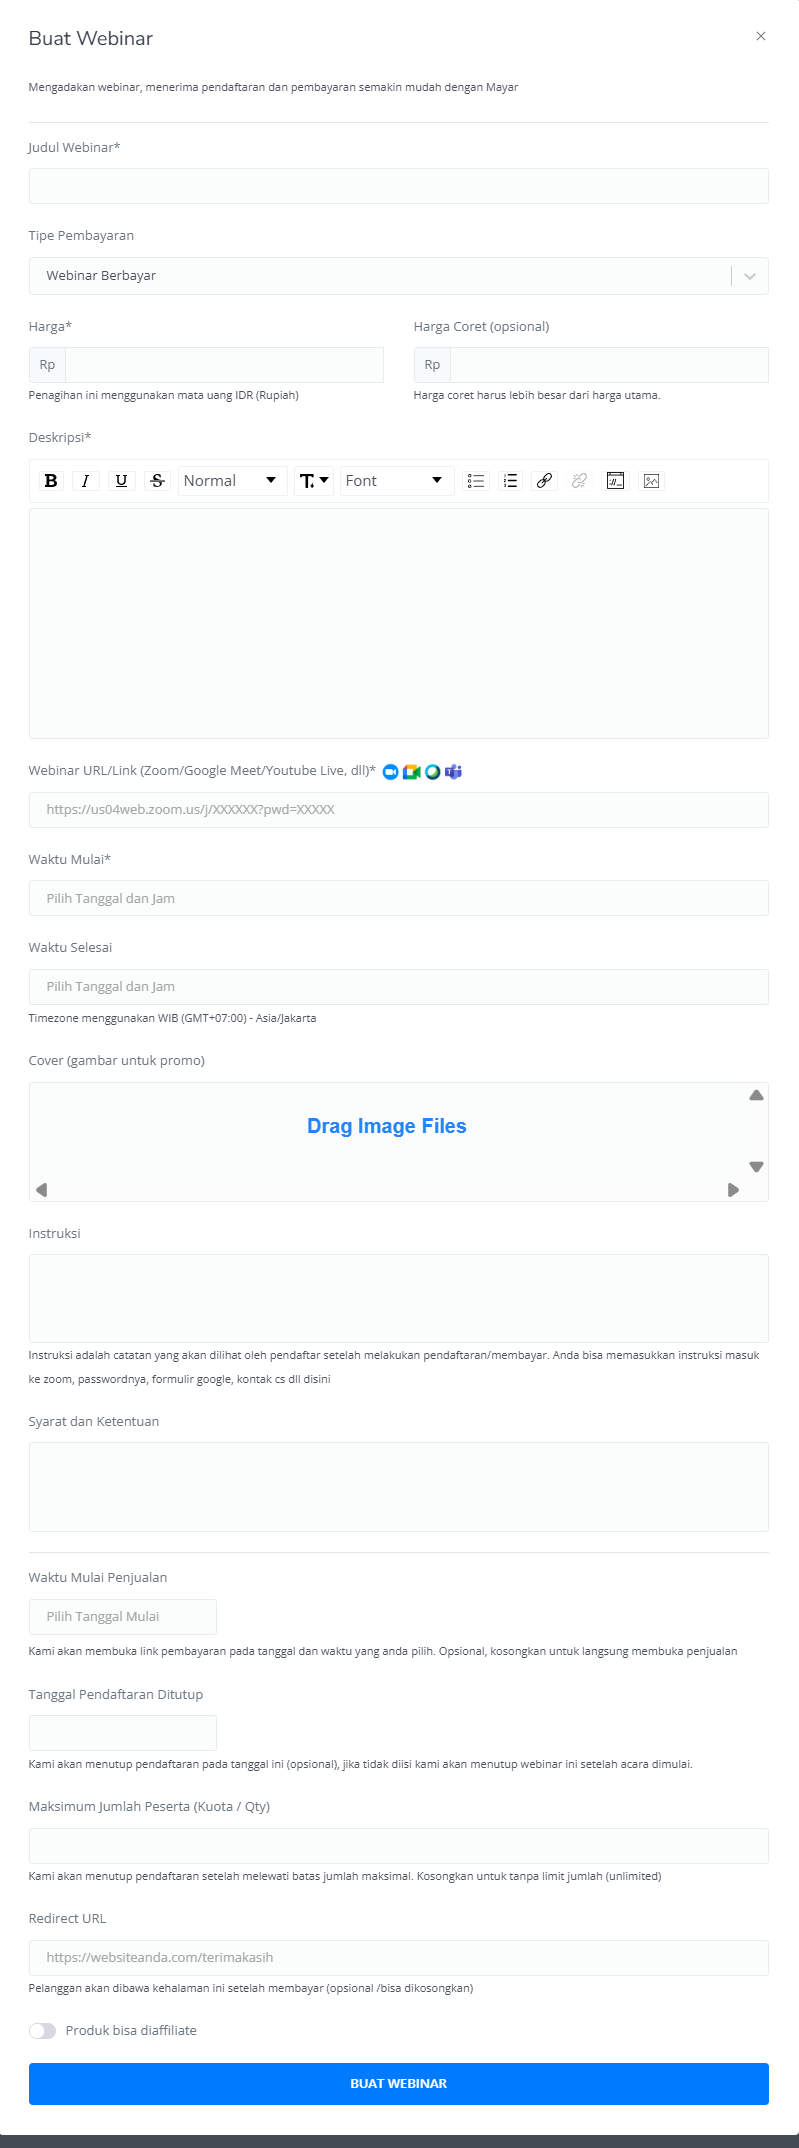
5
Review and Finish
After filling in all the information, review the product details to ensure everything is correct. On the product detail page, you will see the following: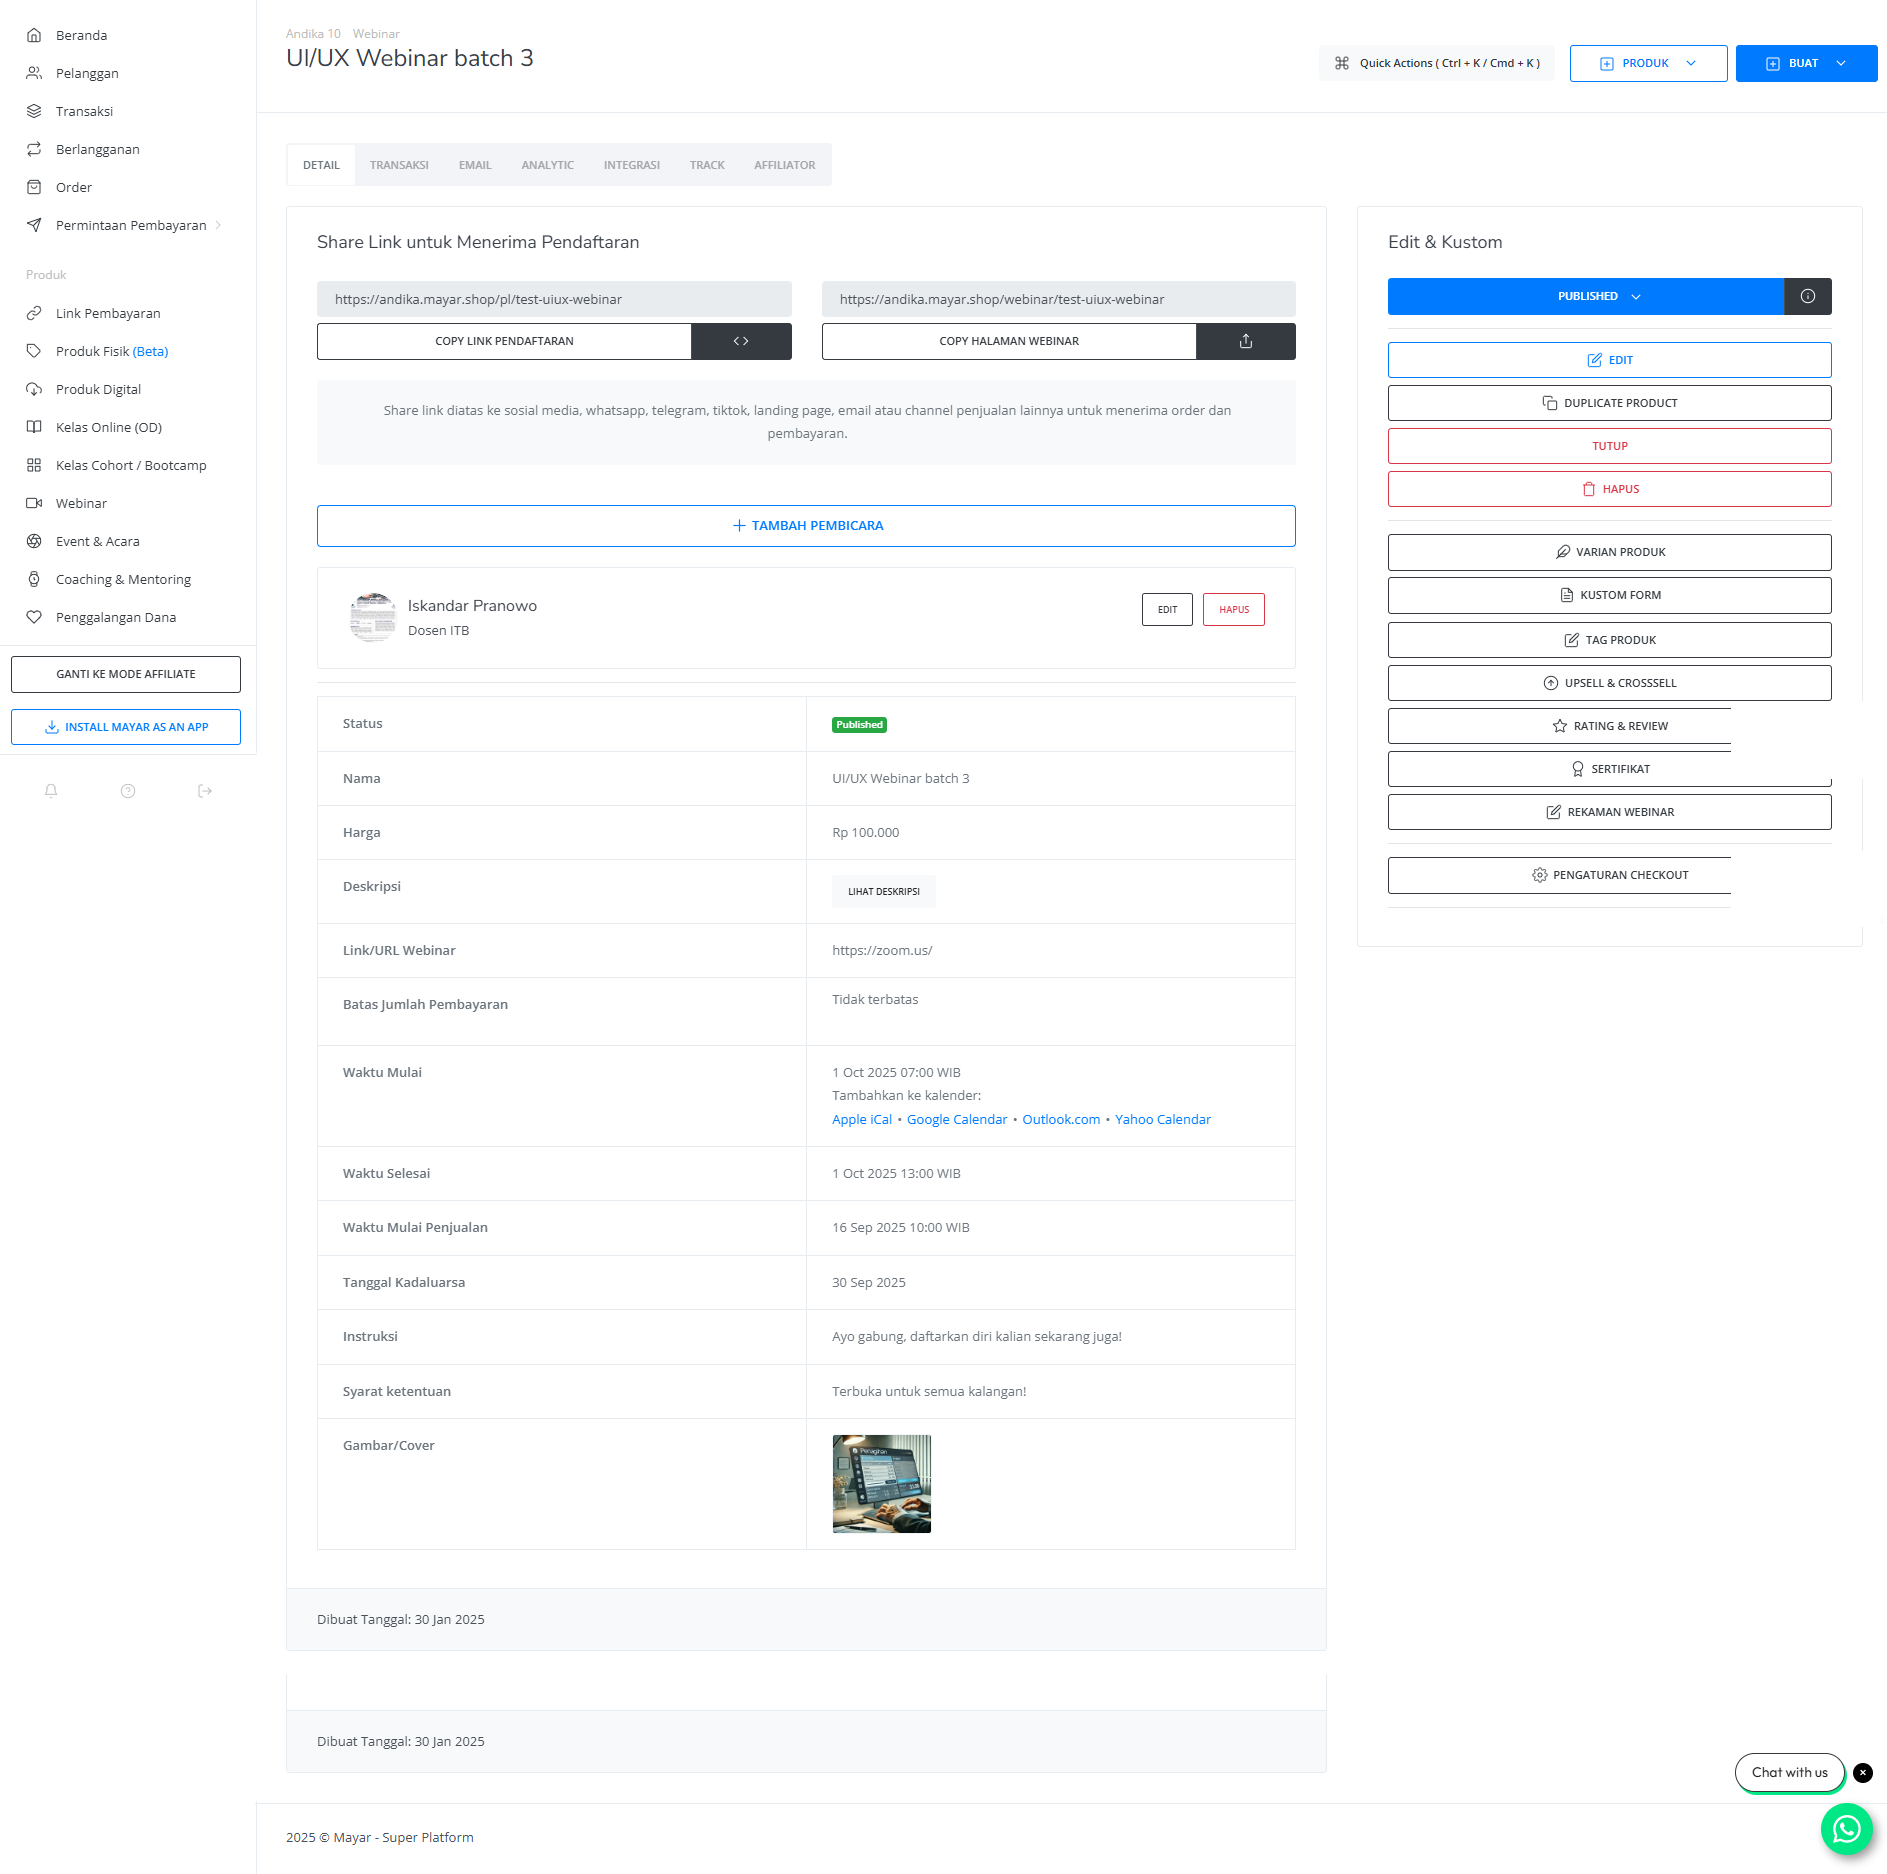
How to Access the Product Page and Checkout
1
Access Product Page
You can access the product page through the link provided in the product details.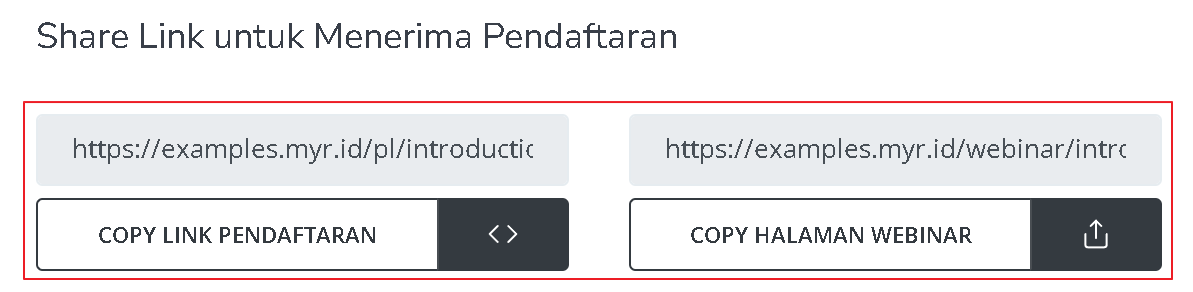
2
Copy Product Page Link
You can also access the product page by copying the product page link.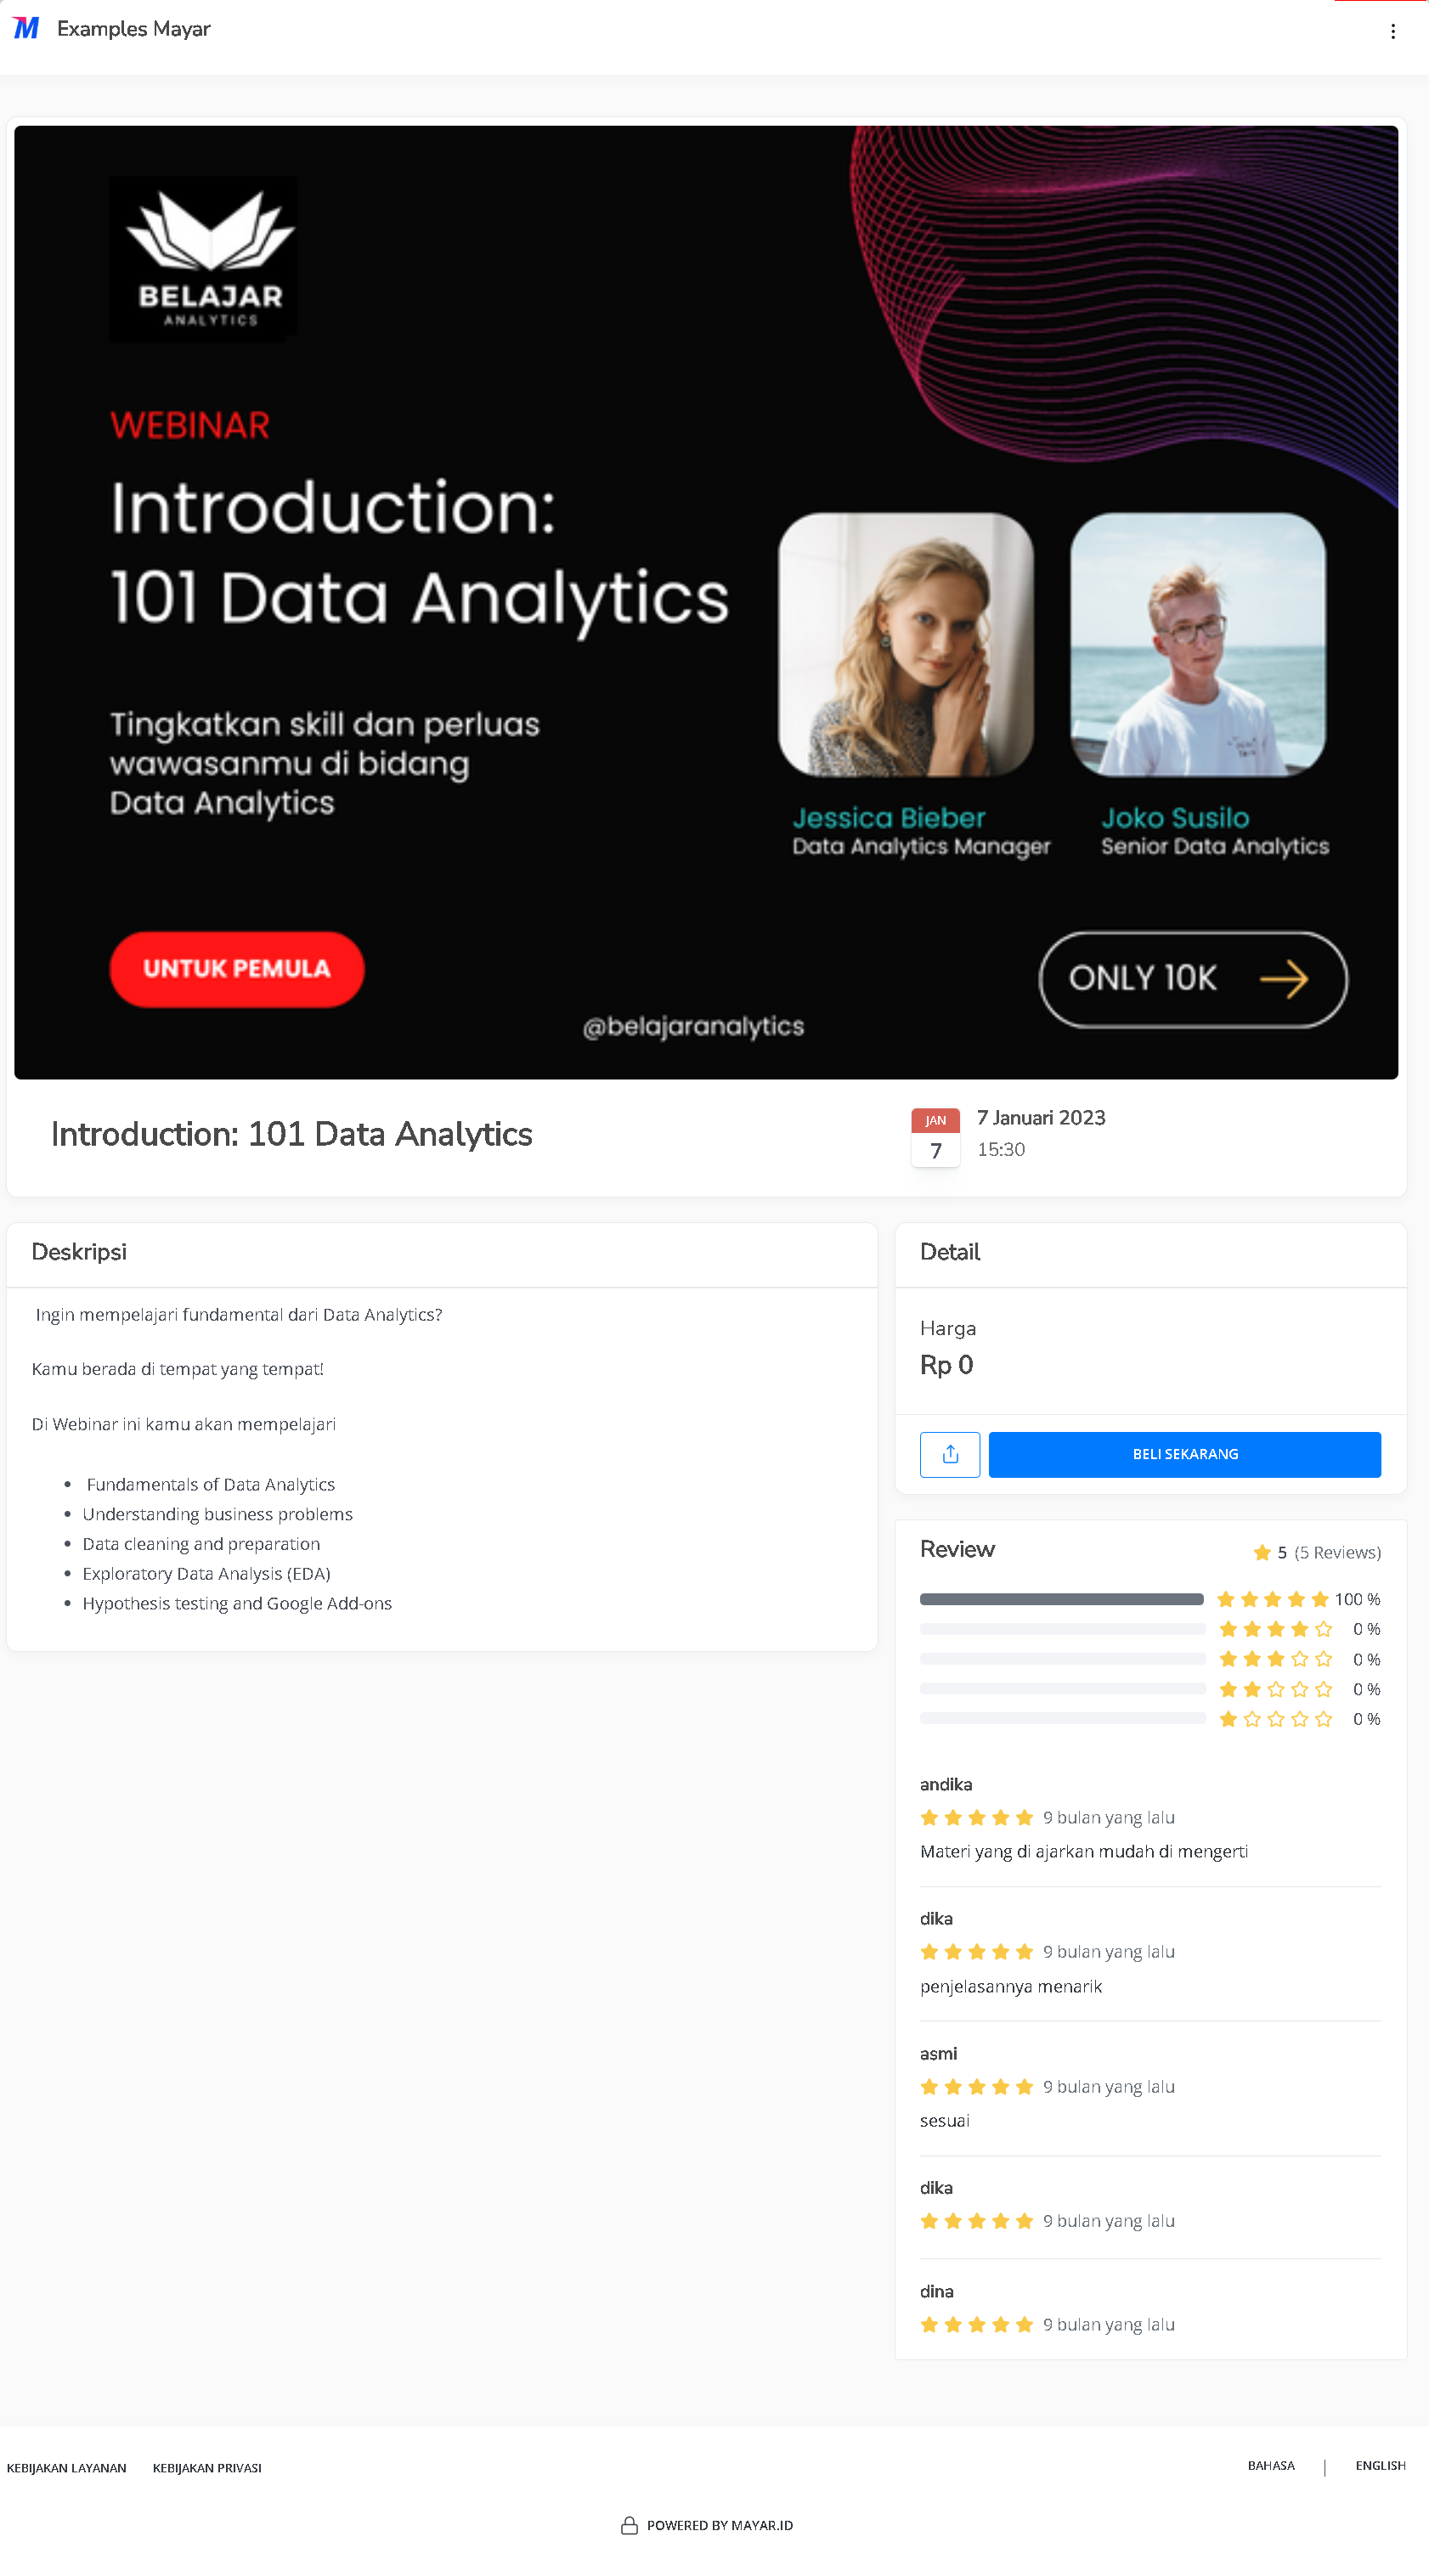
3
Access Checkout Page
To access the checkout page, you can copy the payment link.